Getting Started
Building mrv2
Please refer to the github documentation at:
Installing mrv2
On macOS you install it by opening the .dmg file, and dragging the mrv2 or vmrv2 icon to the Applications directory. If there’s already a mrv2 or vmrv2 version, we recommend you overwrite it. The macOS application is currently not notarized, so when you launch it you will not be able to run it as macOS will warn you that the file is not secure as it was downloaded from internet. To avoid that, you need to open the Apple Logo->Settings->Privacy and Security and go to Security and allow “Opening Anyway”. Alternatively, you can do it from the Terminal, by:
sudo xattr -rd com.apple.quarantine /Applications/mrv2.app/
or for the Vulkan mrv2 version:
sudo xattr -rd com.apple.quarantine /Applications/vmrv2.app/
Windows and Chrome, like macOS, also protect you from installing files from the Internet. When you first download it with Chrome it may warn you that it is not an usual archive to be downloaded. Make sure to click on the right up arrow menu to Save it anyway. You cannot open the .exe from Chrome directly. You will need to open Windows Explorer and go to the Downloads directory. You should then run it from there. Then Windows will popup a Blue box telling you Windows SmartScreen prevented the start of an unknown application and that you can place your PC at risk. Click on the More Information text and a Button that says Run anyway or similar should appear. Click on it and follow the standard instructions to any Windows installer. For file associations, you have to manually select the file and use RMB->Open With. If you installed the application with the .exe installer, you can associate the files with a specific version you have installed or with the latest version (so you won’t have to keep updating the file association).
On Linux, in order to install the .rpm or .deb packages requires your user to have sudo permissions.
On Debian (Ubuntu, etc) systems, you would install with:
sudo dpkg -i mrv2-v1.5.3-amd64.tar.gz
On Red Hat (Rocky Linux, etc), you would install it with:
sudo rpm -i mrv2-v1.5.3-amd64.tar.gz
Once you install it, you can run mrv2 by just typing mrv2 in the shell, as a symlink to the executable is placed in /usr/bin. The installers will also associate file extensions and install an icon for easy starting up in the Desktop icon of the user that installed it. For running mrv2 with the icon, you need to select it and use the right mouse button to open the menu and choose Allow Launch.
If you lack sudo permissions in your organization, you should download the .tar.gz file and you can uncompress it with:
tar -xf mrv2-v1.5.3-amd64.tar.gz
That will create a folder in the directory you uncompress it from. You can then run mrv2 by using the bash script:
mrv2.sh
located in the bin/ subdirectory.
Wayland support
The binary distribution of mrv2, has native Wayland support under Linux.
Vulkan support
The commercial version of mrv2 (also known as vmrv2), supports Vulkan natively on all platforms. This allows faster playback and full HDR (High Dynamic Range) support on all platforms. The free version of mrv2 works with OpenGL only and does not support HDR.
Launching mrv2
While on Linux, you can start mrv2 from the terminal or from the icon, on Windows and macOS by default you use the icon provided in the installed location of the executable.

Loading Media (Drag and Drop)
An easy way to load media is to drag-and-drop files or folders into the main window from the file system. If you drop a folder, the directory will be recursively searched for media files and they will all be added.
Loading Media (mrv2 Browser)
Using File->Open Movie or Sequence, a File requester will be opened. By default the file requester is mrv2’s custom file requester. However, in the Window->Preferences->File Requester you can select “Use Native File Chooser” which will use the native file chooser for your platform.
Note
On macOS, mrv2’s file requester might not be able to open the protected folders of the OS like Desktop, Downloads or Documents as the OS won’t allow it due to mrv2 not being registered with Apple. You won’t use the Finder either with the right mouse button and the option Open with mrv2.
Loading Media (command line)
Media can be loaded using the mrv2 command line from a terminal window which will be convenient and powerful for users familiar with shell syntax.
mrv2 supports various modes for loading sequences and movies. You can mix different modes as required:
mrv2 /path/to/test.mov /path/to/frames.0001.exr /path/to/edit.otio
Note
Movie files will be played back at their ‘natural’ frame rate, in other words mrv2 respects the encoded frame rate of the given file.
Note
Image sequences (e.g. a series of JPEG or TGA) default to 24fps (you can adjust this in Window->Preferences->Playback). DPX and EXRs speed is taken from the metadata if available.
Note
To load all movie files one next to each other use the -otio or -edl flags, like:
mrv2 -edl movie1.mov movie2.mov movie3.mov
Viewing Media
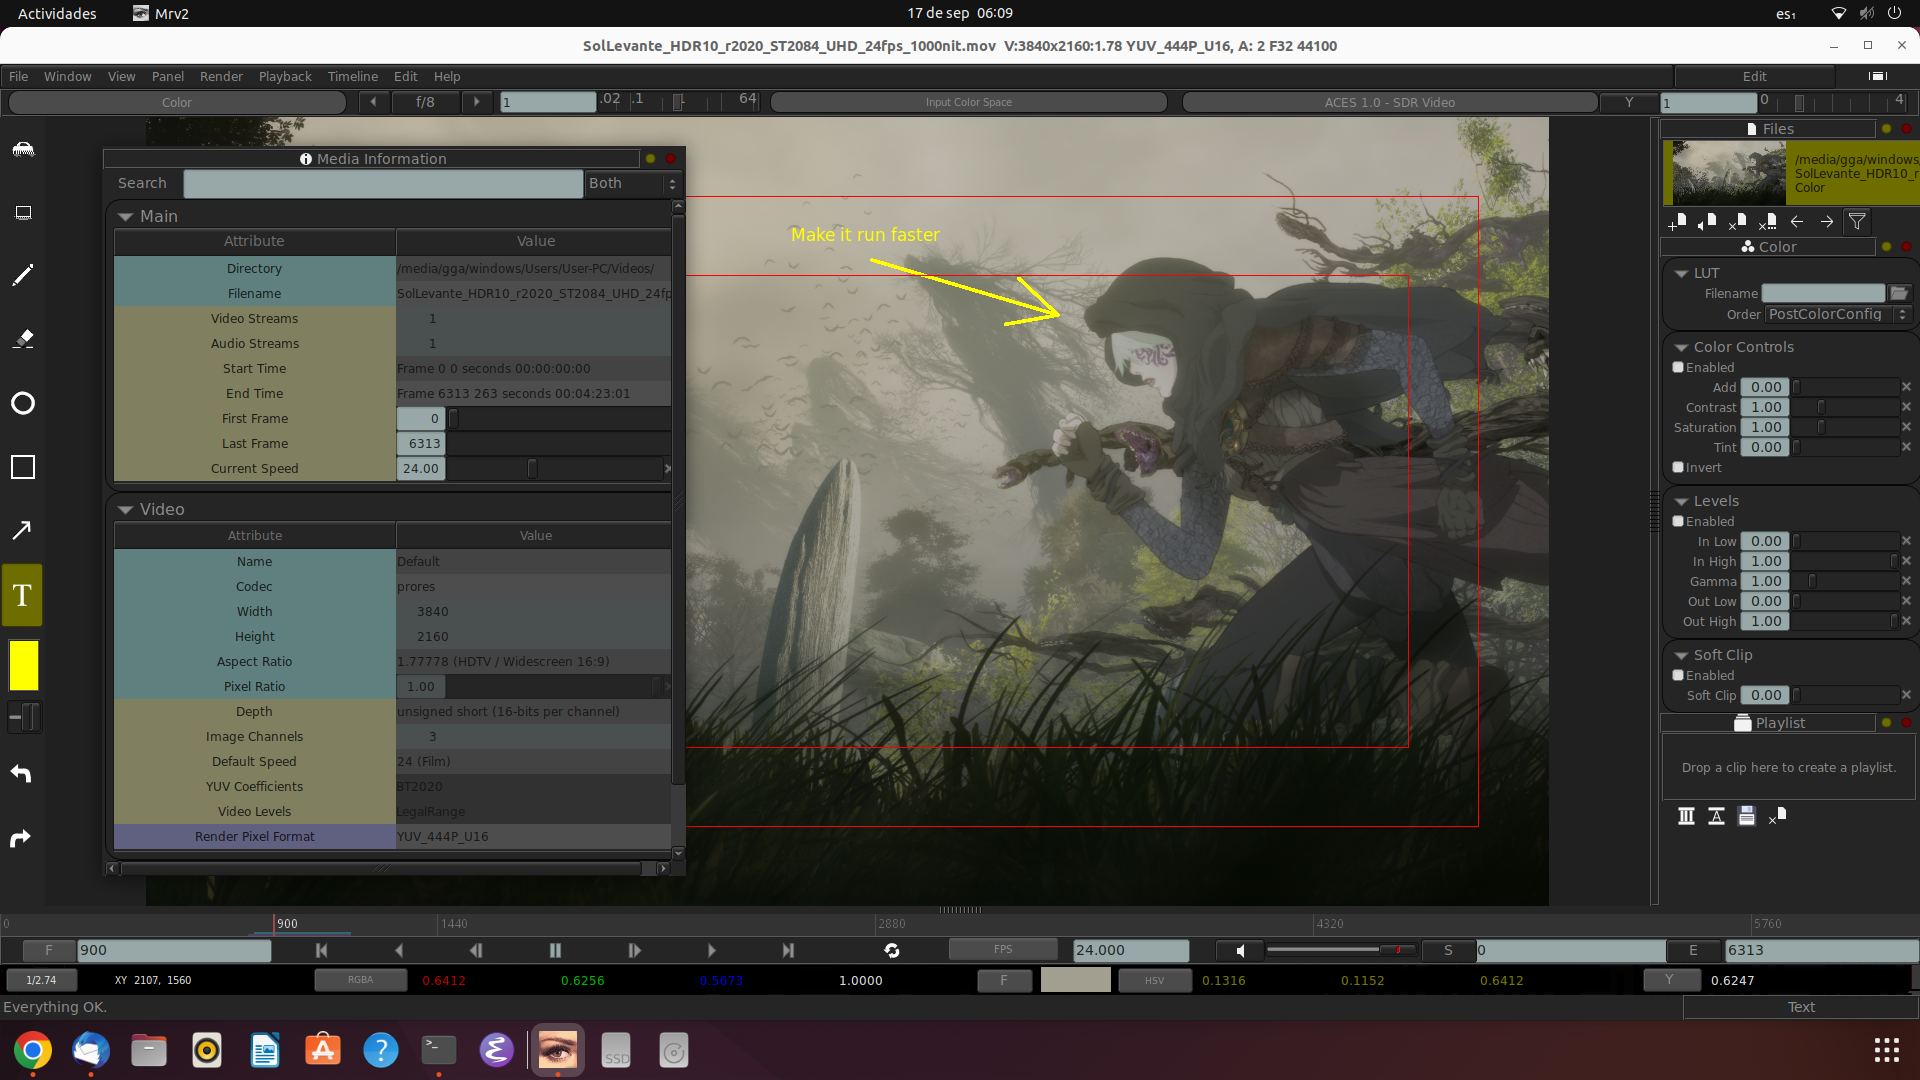
The first media item that is added to mrv2 will be made visible and you can start playing through / looping. To look at other media you can bring the Files Panel (F4 by default). With it you can click on the file you want to see.
When loading a clip, the default behavior of playback can be set in the Window->Preferences->Playback and clicking on Auto-Playback.