The mrv2 Interface
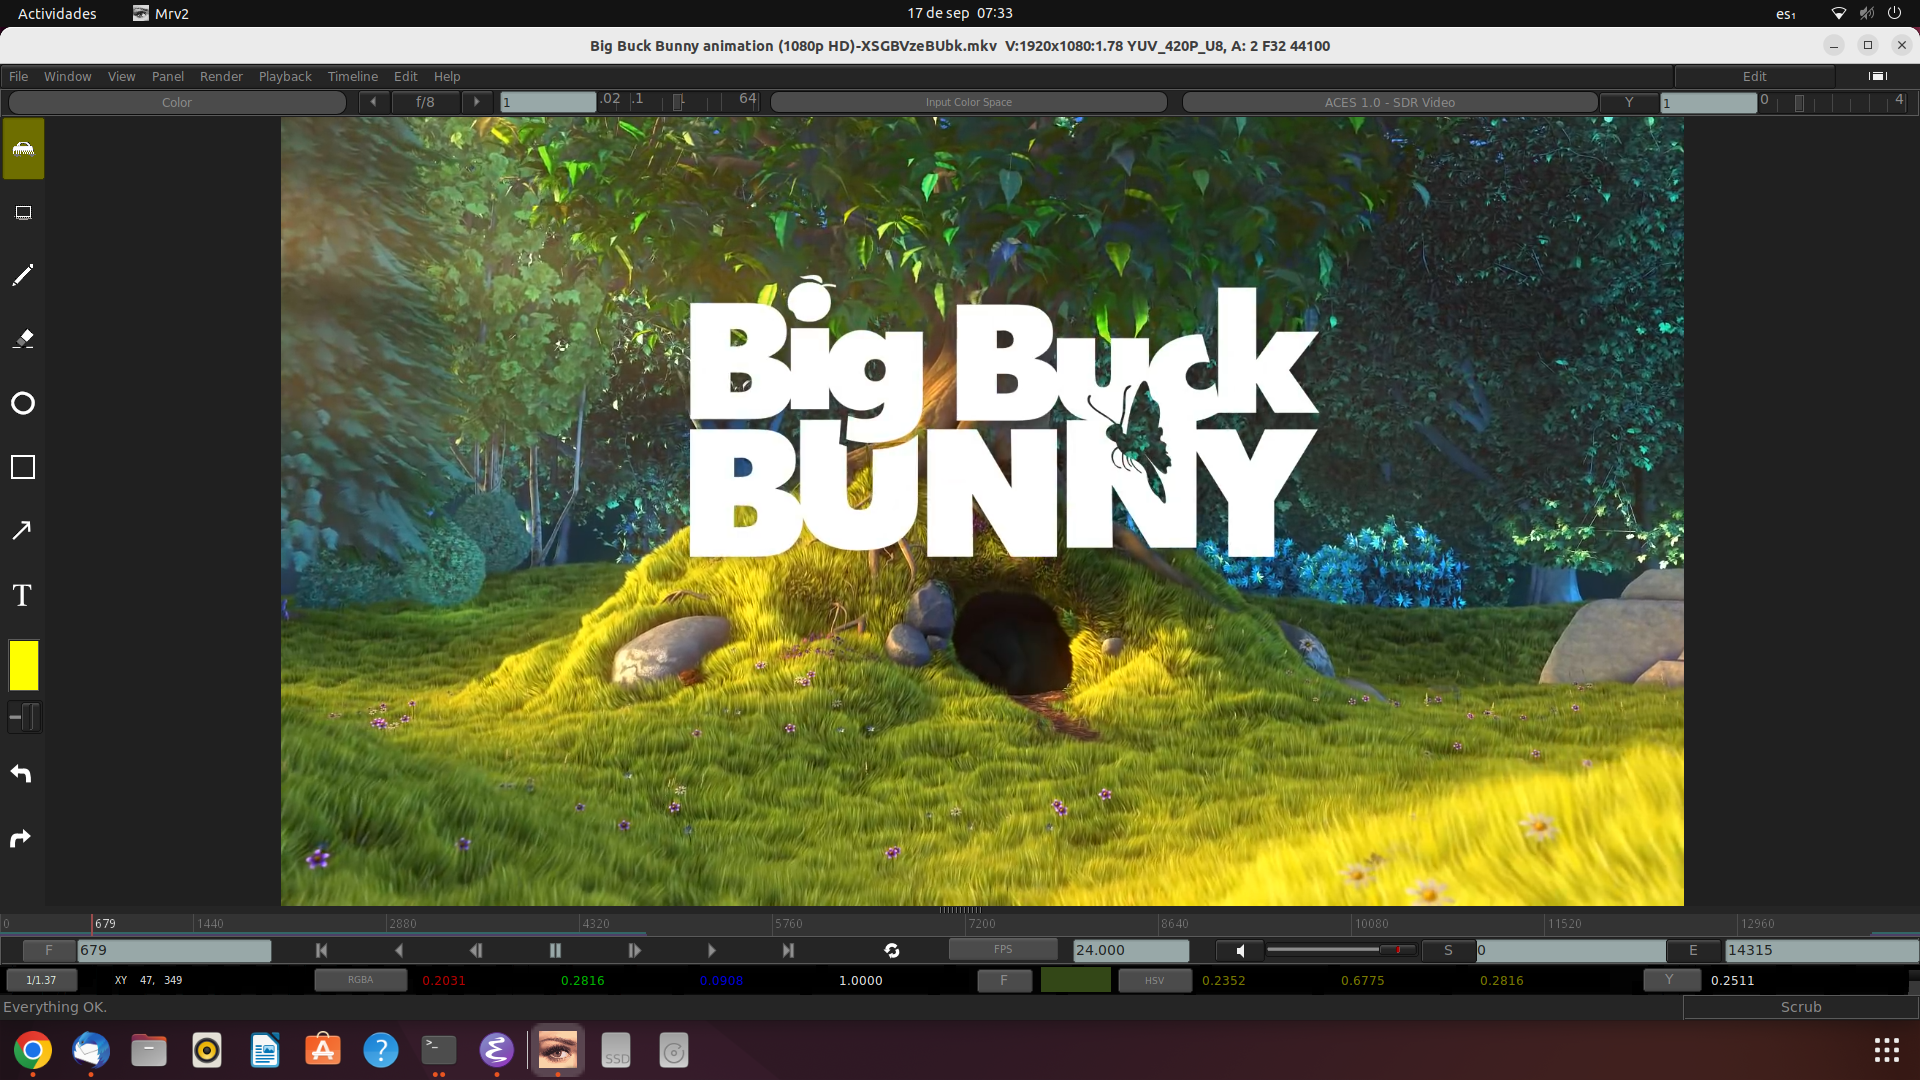
mrv2’s main window provides 6 different toolbars that can be hidden or shown.
The first toolbar is the menu toolbar. It can be toggled with Shift + F1. The menus are also available from the Right Mouse Button on the View window. The menu toolbar also has the Edit button to toggle the editing mode and the Fit Window to image button.
The second toolbar is the main layer, exposure, OCIO and gamma controls. It can be toggled with F1.
The third toolbar is the Timeline Viewport and controls. You can toggle it with F2.
The fourth toolbar is the Pixel Toolbar, which shows the current pixel under the cursor. You can toggle it with F3.
Finally, the last toolbar is the Status toolbar. It will print out errors and let you know in what action mode you are in (Default is Scrubbing).
Hiding/Showing UI elements
Some useful (default) shortcuts are as follows:
Shortcut |
Action |
|---|---|
Shift + F1 |
Toggle Menu Toolbar. |
F1 |
Toggle Topbar. |
F2 |
Toggle Timeline Viewport and controls. |
F3 |
Toggle Pixel Toolbar. |
Shift + F7 |
Toggle Drawing and Action Tools. |
e |
Toggle Thumbnails (Edit) of Timeline. |
F11 |
Toggle Fullscreen mode. |
F12 |
Toggle Presentation mode (no toolbars). |
Customising the Interface
mrv2 can be customized to show any of the toolbars from Window->Preferences->User Interface. These settings are saved when you exit mrv2 and will allow you to always start mrv2 in a certain configuration.
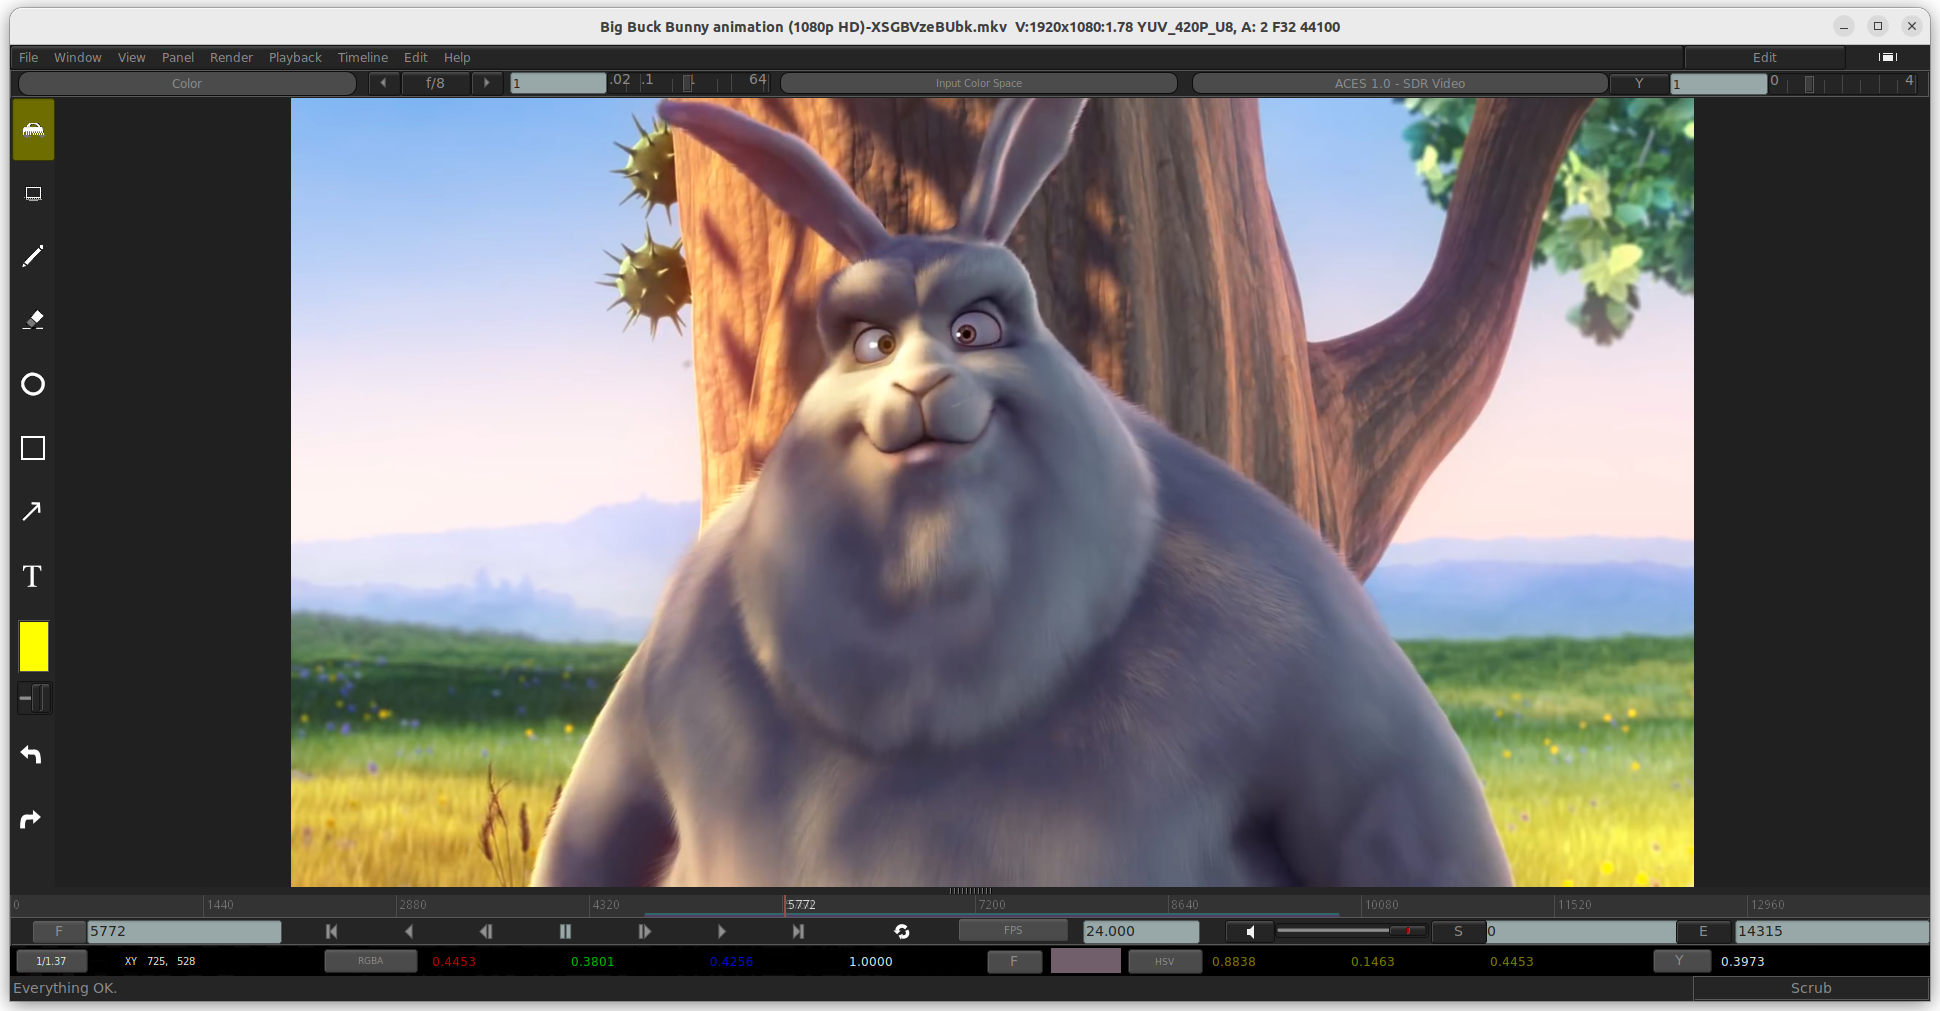
Mouse interaction in the Viewer
A three buttoned mouse can be used for closer image inspection. Hold the middle button and drag to pan the image within the viewport. Hold down the Alt key on your keyboard and drag left/right with the right mouse button to perform a centred zoom in/out on the image. You can also use the mousewheel which is more comfortable. The current zoom factor is shown on the pixel toolbar to the left.
Note
To ‘reset’ the viewer so that the image is auto-fitted, you can select “Fit” from the Zoom display pulldown in the Pixel Toolbar or use the ‘f’ hotkey.
Note
To ‘center’ or ‘home’ the view, without changing the zoom factor, you can use the ‘h’ hotkey.
Note
If you want to zoom in or out at a particular percentage (say 2x), you can choose it from the pull-down menu on the pixel toolbar.
The Top Bar
mrv2’s Top Bar contains the controls of layers or image channels (usually from an OpenEXR).
The gain (controlled by the slider) and/or exposure, driven by the arrows and toggled by the button that shows the F-stop (f/8 by default).
The next control is the Saturation “S” button.
The last control is the gamma one which is driven by the slider and is toggled between two previous values with the “Y” button.
The Top Bar has two modes, which are switch with the ‘t’ hotkey by default. When switched, the toolbar will change to the OpenColorIO menu buttons.
The Input Color Space is the first one. This is the OpenColorIO (OCIO) control of the image.
Coming next, are the View and Display control of OpenColorIO (OCIO).
Finally, there’s the Look OCIO control.
Note
The OpenColorIO (OCIO) controls are derived from your configuration file, which is specified in Window->Preferences->OCIO. By default, the OCIO configuration file used is the cg-config one. mrv2 ships also with the nuke-default and with the studio-config ones. If you set the OCIO environment variable, it will take precedence over the one saved in mrv2’s Preferences file.
Note
mrv2 does most of its color operations in linear space when OCIO is used. The Color transformations in the Color Panel (Add, Saturation, Contrast and Tint) as well as the exposure (gain) are applied after the Input Color Space is transformed into linear space. That allows you to bring, for example, a log image and perform color operations on it in linear space. Then, the display/view transform is applied, and finally the gamma as post display value in, usually, sRGB space.
The Timeline

The Timeline Viewport allows you to scale the Editing’s Thumbnails and Audio waveforms by dragging the viewport up and down. For a quick display of all the tracks, you can click on the Edit button (Shortcut ‘e’ by default) in the Menu toolbar. When showing the pictures, you can zoom in and out with the mousewheel.
Frame Indicator
- Immediately to the left of the timeline is the ‘current frame’ indicator. Click on the button next to it to get a list of options as to how the current time is displayed:
Frames: absolute frame, starting at 0 for movies, and, usually at 1 for sequences.
Seconds: the current time from the start of the media in seconds.
Timecode: the 8 digit timecode. If the media has timecode metadata this will be used.
Transport Controls
These are pretty universal and don’t need much explanation. There’s a play backwards/forwards/pause button, step forwards/backwards buttons and jump to start and end.
FPS
The frames-per-second (FPS) indicator showing the desired FPS. The FPS button is a popup that allows you to quickly switch to a new frame rate.
Start and End Frame Indicator
To the right of the timeline, the Start frame and End Frame indicators are shown. The S and E buttons can be clicked to set the In and Out points at the current frame. It is equivalent to pressing the ‘I’ or ‘O’ hotkeys.
Player/Viewer Controls
- Two buttons to the bottom of the timeline viewport provide the following interactions
Volume/mute control: click on the speaker icon to toggle the mute control. Drag on the slider next to it to control the volume.
Loop mode: set whether the clip will loop, play it once and stop on the final frame or ‘ping-pong’ loop.
The Panels
mrv2 supports Panels to organize the information logically. These panels can be docked to the right of the main viewport or can be made floating windows if dragged from their main drag bar.
Divider
The Panels have a divider, just like the Timeline Viewport, and can be dragged to make the panel bigger or smaller (and change the size of the main viewport).